Table of Contents
- Introduction
- Why Manual M-Pesa Reconciliation Breaks Down
- Understanding Your M-Pesa Payment Options
- How the Integration Actually Works
- Setting It Up
- What It Costs
- Don’t Overlook eTIMS
- Common Reconciliation Failure Points
- What to Look for in a POS Provider
- The Bottom Line
- Frequently Asked Questions
- Ready to Stop Reconciling M-Pesa by Hand?
Setting Up a POS System Integrated with M-Pesa: What Kenyan Retailers Need to Know
If closing time at your shop means someone scrolling through dozens of M-Pesa SMS confirmations, matching each one against a paper till roll by hand, you’re not alone and you’re losing real time to it every single day.
One Mombasa restaurant reported spending 45 minutes every night just matching M-Pesa SMS confirmations against the till. It still rarely balanced. Multiply that across weeks and branches, and it’s not a small inconvenience, it’s a standing operational cost with no upside.
The fix isn’t asking staff to be more careful. It’s M-Pesa POS integration connecting your POS system directly to Safaricom’s official payment infrastructure. This way, every mobile money payment lands on the sale automatically, with no manual matching at all. This guide explains exactly how M-Pesa POS integration Kenya works, what it costs, and what else Kenyan retailers now need to get right alongside it.
Why Manual M-Pesa Reconciliation Fails Without POS Integration
Almost every Kenyan retailer already accepts M-Pesa. The problem isn’t acceptance it’s what happens after the payment lands. Without M-Pesa POS integration, a cashier has to:
• Wait for the customer to send payment and show the confirmation SMS
• Manually check the amount matches the sale
• Record which till or paybill reference the payment came against
• Reconcile everything by hand at shift end cross-checking dozens of SMS messages against the day’s sales
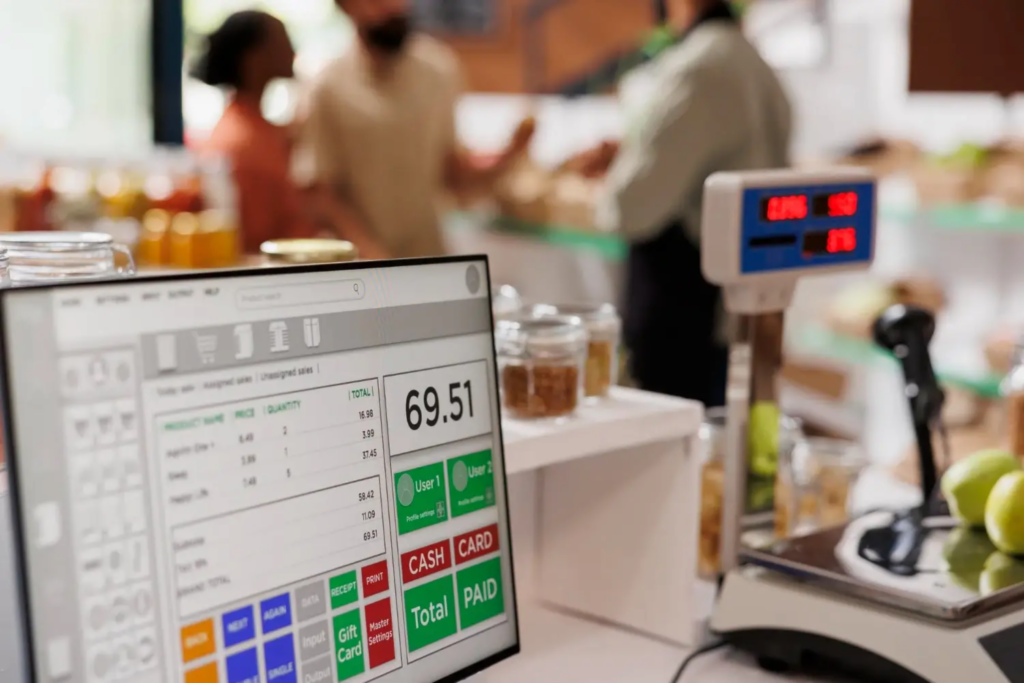
Every step creates room for human error. At busy tills, it’s a genuine bottleneck that slows down the queue. A true M-Pesa POS integration removes all of it: the payment confirmation flows directly into the sale record the moment the customer pays, and the till simply shows “Paid.”
M-Pesa POS Integration: Understanding Payment Options
Kenyan POS integrations typically support some combination of these Safaricom payment methods. Each behaves differently at the till:
STK Push is generally the best default for a retail counter. The cashier enters the sale amount, the system pushes a payment prompt straight to the customer’s phone, they enter their PIN, and the till updates the moment Safaricom confirms it.
Till Number works as a reliable backup when internet connectivity drops. Customers can still pay manually even if your POS temporarily can’t reach the API.
Paybill suits wholesalers, service providers, and recurring payments more than a fast-moving retail counter. It asks more of the customer at checkout.
How the Integration Actually Works
Every legitimate POS M-Pesa integration Kenya runs through Safaricom’s Daraja API, the official developer platform for Lipa Na M-Pesa services. In plain terms, here’s what happens behind the scenes:
1. Your POS sends a payment request to Daraja with the amount and customer phone number (for STK Push), or listens for confirmation of a Till/Paybill payment (for C2B).
2. Safaricom processes the payment and sends an instant callback to your system confirming who paid, how much, and against which reference.
3. Your POS receives that callback and automatically marks the specific sale as paid – no manual entry required.
4. A digital receipt and reconciliation record are generated automatically, tied to that exact transaction.
That callback is the entire point of integration. Without it, a cashier is stuck doing manually what the API is designed to do instantly.
Setting It Up: The Practical Steps
Step 1: Acquire a Paybill or Till Number
Get your business’s M-Pesa shortcode from Safaricom. This is the foundation everything else connects to.
Step 2: Register on the Daraja Portal
Create a developer account on the Safaricom Daraja portal. Generate your Consumer Key and Consumer Secret.
Step 3: Configure Your Callback URL
Set up a secure, always-live HTTPS endpoint where Safaricom sends payment confirmations. This is the step most self-managed setups get wrong. A callback URL that goes down means confirmed payments silently fail to reach your POS.
Step 4: Map Account References to Invoices
Ensure incoming payments match the correct sale rather than sitting unreconciled.
Step 5: Set STK Push as Your Default Method
Configure STK Push as your primary payment method. Set Till Number as an offline-friendly backup.
Step 6: Test with a Small Transaction
Test with as little as KES 1-10 before going live. Confirm the full loop actually works end to end.
What It Costs
Two separate costs apply, and it’s worth understanding both before budgeting:
Integration/setup cost – a one-time fee to connect your POS to Daraja. Simple STK Push setups can run from roughly KES 15,000-60,000. A full-featured integration with C2B, automated reconciliation dashboards, and admin reporting can range from KES 80,000 to over KES 200,000. Many modern POS providers now include this as a built-in feature rather than a custom build.
Safaricom transaction fees – charged per payment collected, separate from your integration cost. Lipa Na M-Pesa (Buy Goods) transactions are typically free under KES 100, with fees scaling up to roughly 1.5% for larger amounts, though Safaricom periodically revises these rates.
Don’t Overlook eTIMS: Your POS Needs to Handle Both
Here’s the part a purely M-Pesa-focused setup misses: since 2023, and enforced more strictly through 2026, KRA requires every business to issue electronic tax invoices through eTIMS for each sale, not just VAT-registered ones. From January 2026, KRA also began validating declared income and expenses directly against eTIMS data, which raises the stakes for getting this right.
A POS system that only handles M-Pesa reconciliation but not eTIMS compliance leaves you solving half the problem. A cashier ringing up a sale correctly in M-Pesa but forgetting or mistyping the matching eTIMS invoice creates a compliance gap. The practical fix is the same principle as M-Pesa integration: choose a POS that automatically generates a compliant eTIMS invoice the moment a sale is confirmed, tied to the same transaction record as the M-Pesa payment.
Common Reconciliation Failure Points to Plan For
Even a well-integrated system runs into a few predictable edge cases. Plan for these upfront rather than discovering them mid-shift:
Callback timeouts – if your callback URL is briefly unreachable, a completed payment can fail to register on the till even though the customer’s money has left their account. A good POS logs a way to query transaction status after the fact to recover these.
Network or power outages – if your POS can’t reach the internet, it should still be able to accept a payment (via Till Number, which doesn’t require your system to be online) and sync the reconciliation record once connectivity returns.
Duplicate payments – a customer sending payment twice because the first confirmation was slow to display needs a clear process for identifying and refunding the duplicate, ideally flagged automatically rather than discovered days later.
Daily settlement mismatches – always run an automated daily settlement report comparing total M-Pesa collections against total recorded sales, so any gap is caught within 24 hours, not at month-end.
What to Look for When Choosing a POS Provider
Rather than building a custom integration from scratch, most Kenyan retailers are better served by a POS system with M-Pesa and eTIMS already built in. When evaluating providers, confirm:
• Genuine Daraja API integration, not just a displayed Till number the customer types in manually with no automatic reconciliation.
• eTIMS certification, so every sale generates a compliant invoice automatically, without a second manual step.
• Offline mode, so sales and payments aren’t lost during a network or power outage – critical given how often Kenyan businesses face both.
• Automated daily settlement and reconciliation reports, so discrepancies surface immediately rather than at a chaotic end-of-month review.
• Support for STK Push, Till, and Paybill, so you’re not limited to a single payment flow if a customer prefers a different method.
The Bottom Line
A properly integrated POS turns M-Pesa from a nightly reconciliation headache into something that simply works in the background. Payment confirmed, sale marked paid, eTIMS invoice generated, all in the same instant, with no SMS-matching required. Get the payment method mix right for your counter, budget for both the integration and Safaricom’s transaction fees, and make sure your POS handles eTIMS compliance in the same step as M-Pesa reconciliation, not as a separate chore.
Ready to Stop Reconciling M-Pesa by Hand?
Choosing the right payment methods, setting up a reliable Daraja integration, and layering in eTIMS compliance correctly is easy to get wrong on a first attempt and costly to leave half-done. Sapiens IT Lab’s managed IT services team sets up POS systems with automated M-Pesa reconciliation and eTIMS-compliant invoicing built in from day one.
Want to automate your till’s M-Pesa reconciliation and tax compliance? Book a 15-minute POS demo via WhatsApp or visit Sapiens IT Lab to request a free on-site IT assessment today – we’ll map out exactly what your till setup needs.


